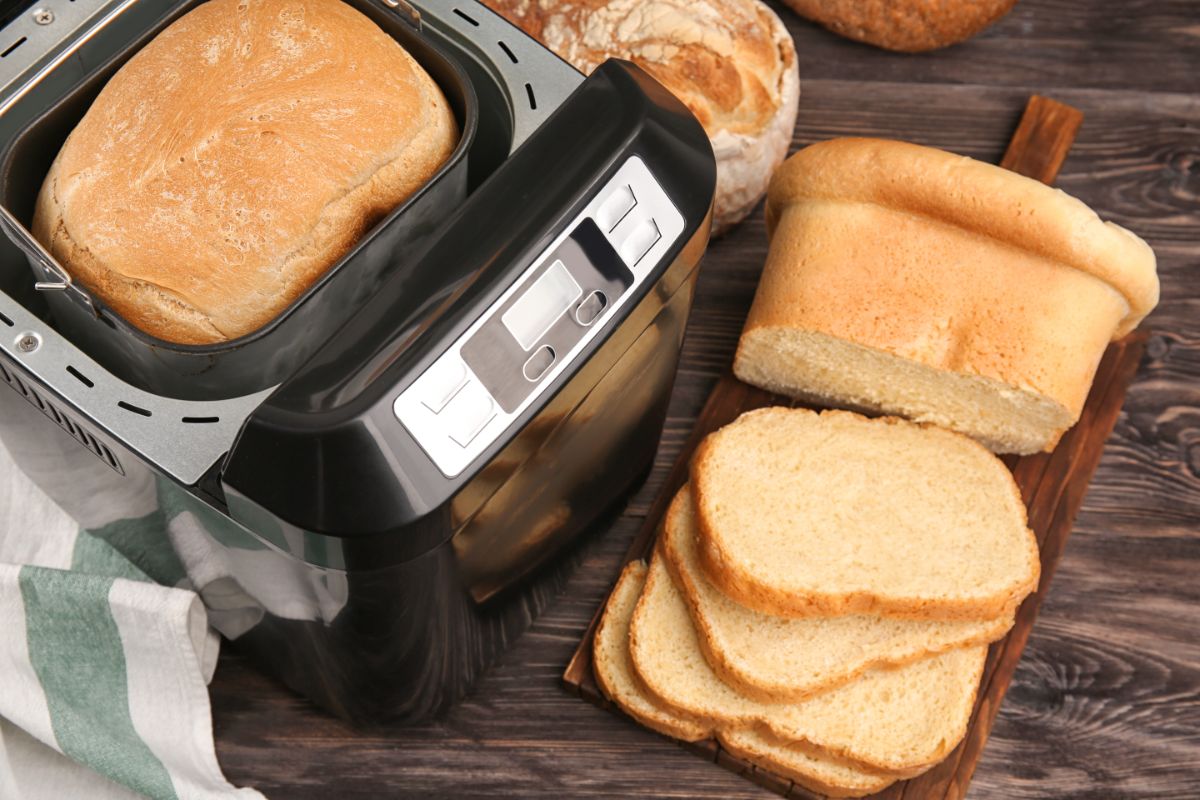
There’s nothing more fulfilling than the smell of fresh bread from the oven. But even the most experienced bakers will tell you that removing bread from the loaf pan can be the trickiest job in the kitchen. Are you getting tired of your bread sticking in the pan? Well, let’s try to find answers to your baking frustrations.

So, how do you get the bread out of the bread maker? In order to get the bread out of a bread maker pan follow the steps below:
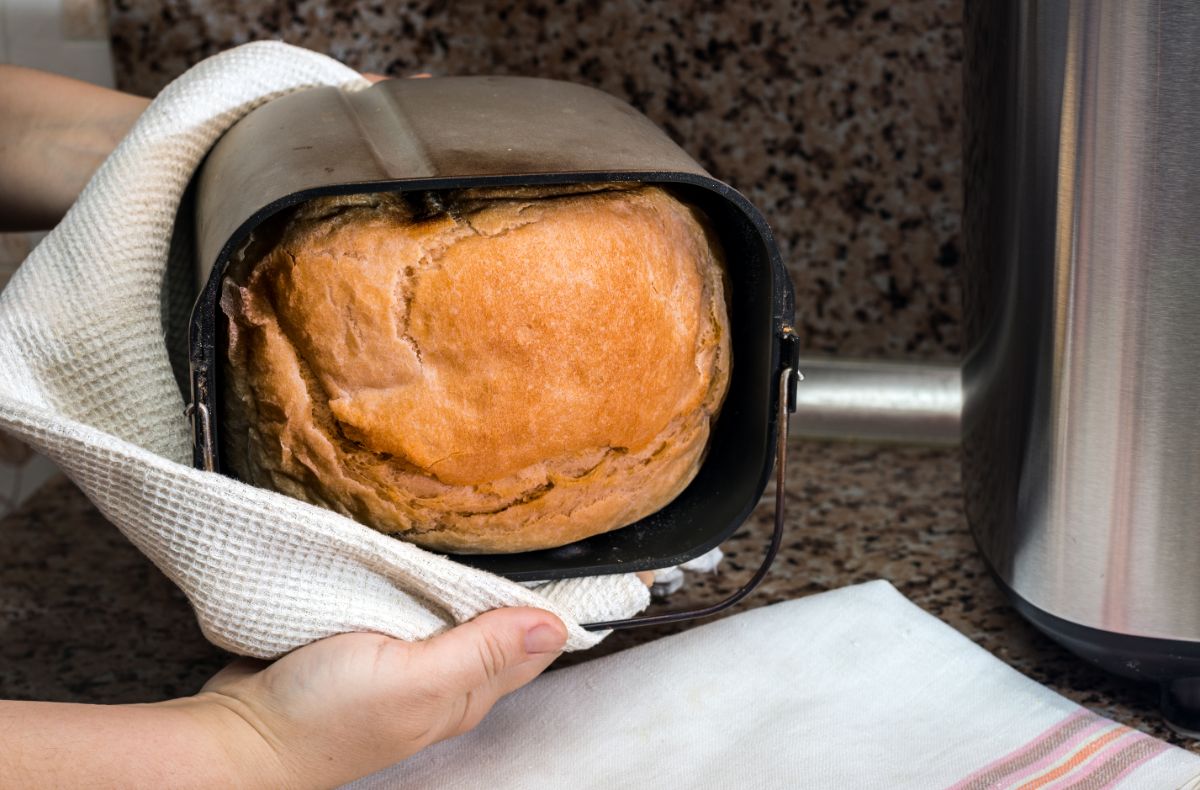
- The first step is to let the pan cool to room temperature. For safety reasons, you should wear oven mitts.
- Next, unplug the unit and remove the pan from the machine.
- After that, lay down a paper towel on a countertop or table.
- Then, slide a knife towards the bottom of the pan and move it all way around.
- Flip the loaf on the paper towel and tap the underside of the pan gently.
If this doesn’t work, proceed to the next step.
Fill a large container with hot water and lower the loaf pan for 5-10 minutes. The heat from the water will loosen the bread from the bottom of the pan. Keep passing the knife around the edges until the loaf separates. If the bread is stuck at the bottom of the loaf pan, cover the pan with a plastic wrap and place it on a dishtowel for 10 minutes. Shake the loaf gently to dislodge it from the pan.
If you’ve tried the above methods and they didn’t work, its time you cut the bread from the pan. But how do you go about it? Cover the loaf with a plastic wrap and turn it upside down. Then, cut as much bread as possible. Use a spoon to remove the bread from the bottom and dig around the blade paddle.
What makes the loaf stick in a bread maker?
This occurs when you use dough that is too moist resulting in a mess when you try to remove the loaf. If you don’t use a non-stick pan, the bread will stick at the bottom. This doesn’t mean you should buy a new pan.
You can use parchment paper and place it at the bottom and on the sides of the pan. Sometimes, the loaf can get stuck when it burns. Another cautionary measure is to avoid leaving the bread in the pan for many hours.
The bread will also stick when the upper paddle fails to release it from its housing. After each use, you should remove the kneading paddle and clean it thoroughly. If you don’t address this problem immediately, you could end up with crumbled bread that lacks the wow factor.
Still, the batter can overflow and stick to the edges of the pan. To prevent this problem, you should avoid filling the baking pan to the full. In case you’re using a smaller baking pan than what the recipe calls for, go for a larger one. When you’re faced with this problem, use a thin-bladed knife to remove overflowed bread.
How to prevent the bread from sticking in a bread maker
Grease the pan
The easiest remedy is to grease the loaf pan regularly. You should use a cooking spray or solid shortening. Scoop a small amount and apply to your pans with your fingers.

If you’re not comfortable with the fingers, use a pastry brush or a paper towel. The idea is to grease your pan before you start baking.
If you don’t like the flavor of olive, you can use cooking oil to grease the pan. Tilt the pan until the flour sticks on the inside surface. If you want to remove the excess flour, turn it over and tap on the sink.
You can also use non-stick baking sprays. Coat the sides and the bottom. A missed spot may result in bread shortening. Spray the pan lightly and evenly.
Be careful not to spray on the floor as it can make it very slippery. Avoid butter and margarine because they contain water, salt, and other impurities that cause the bread to stick.
Use a wire112 rack
When you finish baking, you should place the loaf on a wire rack. It helps to elevate the loaf to ensure the air circulates all sides. This also prevents the moisture from settling at the bottom of the pan.
Avoid placing a hot pan on countertops as it can easily damage the surface. Racks also prevent condensation making the edges of baked foods soft.
The benefit of this is that the bread will come out of the pan easily. As you choose the rack, consider the size. If you routinely bake large batches, you should invest in a large rack.
Read the recipe to understand the cooling method you should apply. The main benefits of cooling bread are to avoid stickiness, sweating, or too much softness.
Once you remove the bread from the pan, allow it to cool down for 10-15 minutes. If the bread continues to stick, use a thin-bladed knife or a spatula around the edges.
Accuracy does matter
Most bread recipes call for flour, water/milk, salt, and yeast. As you measure the ingredients, you should measure the right quantity.
For instance, adding too much water can make the dough too sticky and affect the final outcome. The best way to go about it is to measure the ingredients and keep them in the fridge.
Use high-protein flour and the recommended amount of liquid. When kneading the dough you should focus on the corners where the paddle can’t reach. Use a rubber spatula to create a symmetrical loaf with a flat bottom.
Maintain the right temperature in the bread machine
Most pans in the market are made of steel. They heat faster than those made of ionized aluminum. The pan you choose should bake more evenly and cool faster.
If you make the first bread and it fails to come out of the baking pan, you should adjust the temperature. And before you start your second cooking, adjust the temperature to 30 degrees F. In addition to that, you should check the baking cycle.
Conclusion
While a bread maker is a valuable appliance for your kitchen, so many things that can go wrong when baking. The worst experience is the loaf sticking on the bread maker.
Generally, bread sticking is caused by temperature and the coating of the pan. Even if you’re making quick bread with non-stick pans, they will occasionally stick.
That being said, the success in baking depends on many factors like proper handling of equipment’s, precise measurements, and having the right tools for the recipe. Be sure to follow the above tips to get the best results with minimal fuss.
