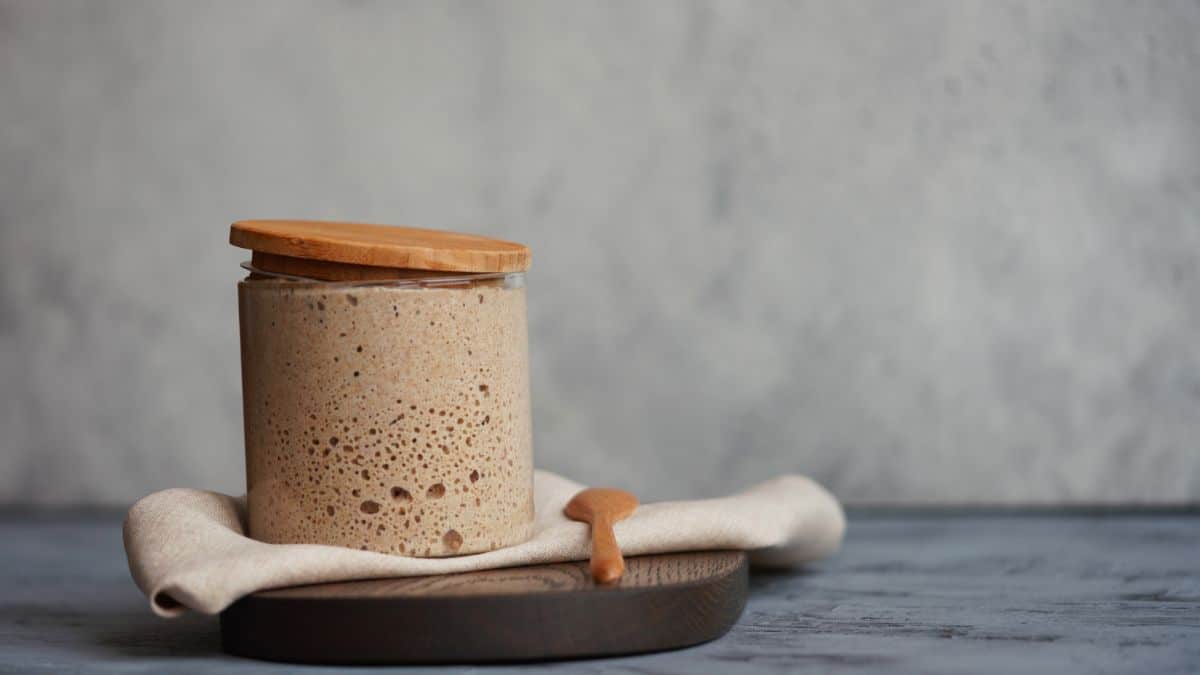
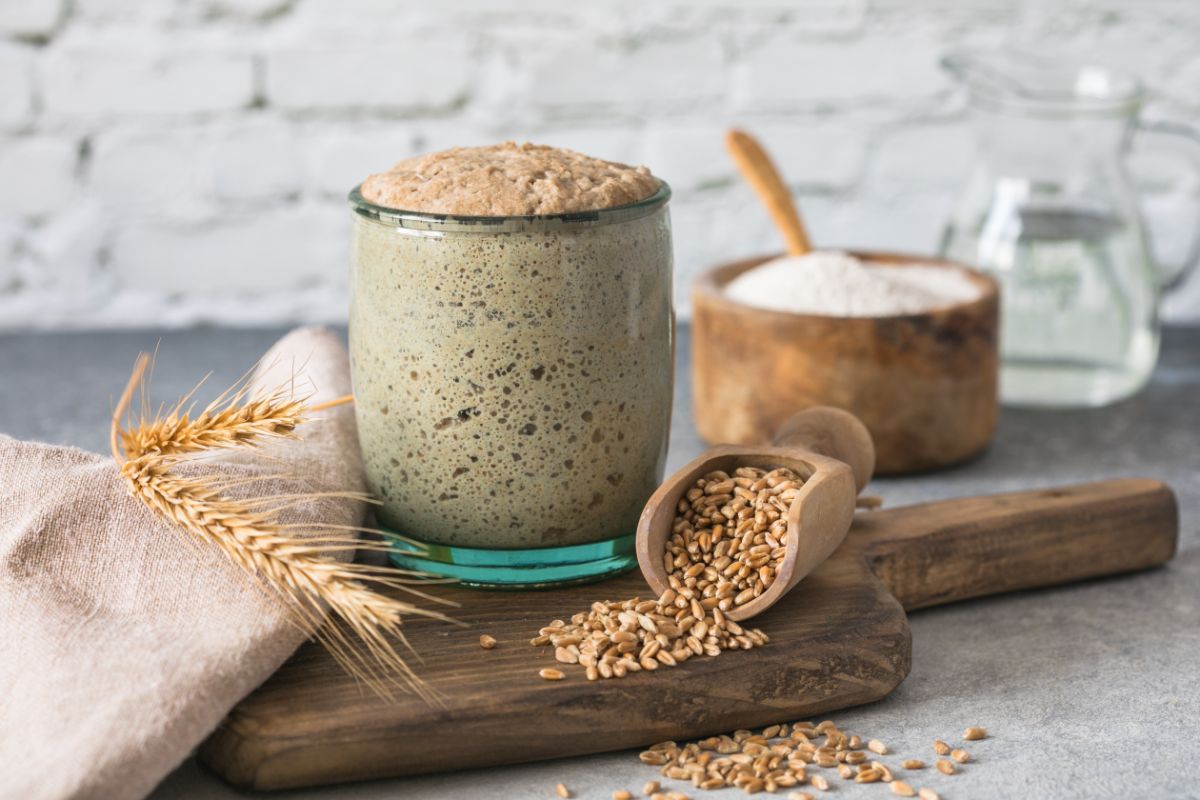
When your sourdough starter is all set, it requires consistent feeding. If you bake plenty of sourdough treats, it is ideal you keep them on your counter, room temperature style.

While this translates to feeding it twice a day, it also implies that your starter will be available at any time you decide you want to bake.
If you don’t take sourdough baking too seriously, you can store your starter in a refrigerator, and feed it once every week.
*This article may contain affiliate links. As an Amazon Associate I earn from qualifying purchases. Please take that into account.
- Sourdough starter container
- Dutch oven
- Large mixing bowl
- Measuring cups and spoons
- Bread thermometer (fancy or a budget one)
- Scoring lame
Extra (nice to have):
- Kitchen scale
- Dough scraper and bowl scraper (yes, they are different)
- Cooling rack
- Baking stone (you don’t need a dutch oven if you use this)
👉Learn how to make bread and pizza with this awesome book.
How To Feed The Sourdough Starter
Feeding Your Sourdough by Weight or by Volume
The process of feeding a sourdough starter entails a combination of starter, flour, and water in a specific ratio to be sure the starter has the “food” it requires if it must stay healthy and alive.
Feeding of the sourdough starter can be done either by weight or volume measurements.
The weight method is acclaimed to be the most precise and accurate, but nutrition by volume is often more convenient since measuring cups are common in most kitchens. Both ways can be used successfully.
Don’t fail to go through the instructions that came with the starter for the ratios of starter, water, and flour unique to the kind of sourdough starter you are using.
Sourdough Starter Feeding Instructions
- Measure starter kept at room or remove ¼ cup starter from a refrigerator.
- Add flour to the starter with water every 8-12 hours employing one of the following methods: If the scale is your preferred instrument when measuring ingredients, blend equal amounts by weight of starter, water, and flour. For example, 50 grams of starter, 50 grams of water, 50 grams of flour. If you prefer measuring cups, mix one-part sourdough starter, one-part water, and a little less than two parts flour altogether. For example, ¼ cup of starter, ¼ cup of water, and a little less than ½ cup of flour.
- Close it up and keep it in a warm area, 70°-85°F, for 8-12 hours. Repeat steps 1-3 till you have sufficient starter to make your recipe and a little remnant.
- When getting set to bake, make use of the current starter within 3-4 hours of feeding, to make sure the starter is high on action.
TIP: The presence of a brown liquid layer atop your starter, called hooch, means your starter is starved. If this happens, dispose it off and feed the hungry starter quickly, then make sure it does not go short of food again as you go ahead.
The extra starter may be disposed of, safely kept in the refrigerator at room temperature and fed again as above.
Always reserve a minimum of ¼ cup starter to begin your next project.
Feed Room Temperature Sourdough Starter Every Day
If you are a regular baker, always keep your starter at room temperature and feed 2-3 times per day, as described above. The majority of starters conventionally demand to feed every 8-12 hours, based on the temperature around the culturing area.

Note that some starters, naturally proof rapidly, like our rye sourdough starter, so this calls for more frequent feeding.
When steadied at room temperature and fed daily, your sourdough starter will always be ready to use for baking.
Make use of the starter to prepare bread dough within 3-4 hours of being fed, at that point. The starter is at its climax of activity.
Feed Refrigerated Sourdough Starter Every Week
If you bake once in a blue moon, probably weekly or monthly, it is advised to keep your sourdough starter in the refrigerator, enclosed in a container well-sealed, and feed it once every week.
- Get at least ¼ cup starter from the refrigerator. Get rid of the remaining starter.
- Feed starter with flour and water: If a scale is used to measure ingredients, mix equal amounts by weight of starter, water, and flour. For example, 50 grams’ starter, 50 grams’ water, 50 grams’ flour. If measuring cups are used, mix one-part starter, one-part water, and a little less than two parts flour. For instance, ¼ cup starter, ¼ cup water, slightly less than ½ cup flour.
- Cover and allow starter settle for 1-2 hours at room temperature, until it is light and bubbly.
- Place a tight lid on the jar and send it back to the refrigerator.
- Repeat this weekly even when you take a break from your sourdough culture.
Prepare Refrigerated Sourdough Starter to be Ready for Baking
The refrigerated sourdough starter is in a state of hibernation.
Before using it for baking, it’s best you heed to a couple of instructions, to ensure your sourdough starter is well alive and active enough to leaven the bread.
1. Bring the Starter Out of Hibernation
The following steps are to be taken when making a fresh sourdough starter for baking if your sourdough starter is usually refrigerated:
- Take out ¼ cup sourdough starter from the refrigerator or measure the amount of starter you have.
- Feed the starter by adding water and floor: If using a scale to measure ingredients, combine equal volumes by weight of starter, water, and flour. For instance, 50 grams’ starter, 50 grams’ water, 50 grams’ flour. If using measuring cups, combine one-part starter, one-part water, and a little less than two parts flour. For instance, ¼ cup starter, ¼ cup water, slightly less than ½ cup flour.
- Stir with vigor.
- Close the container and allow the starter to culture for 12-24 hours in lower temperatures for a tangier sourdough, allow for 8-12 hours in warmer temperatures for a sweet starter.
2. Repeat Feedings Two Times
Redo this process twice again before baking, measuring the amount of starter in-store and using the same ratios prescribed above.
The third feeding will see the starter become lively and double in size within 4-8 hours of food, showing that the yeast and bacteria are supplying enough gas to leaven the bread properly. If this is not the case, go ahead with the feeding of the starter until it is all active and full of life.
The moment your starter is buoyant and energetic you have a fresh sourdough starter! If there are loads of starters sufficient for your recipe, then you can go baking right away!
However, if you don’t have enough starter yet, continue feeding and building up more starter.
3. Prepare the Fresh Starter for Baking
At the moment your starter is bubbly and energetic, it’s time to get it ready for baking by ascertaining how many starters your recipe will demand and build it up to the required volume.
If you have the required amount of starter to bake your recipe then start already if you don’t have yet, continue feeding and building up more starter.
