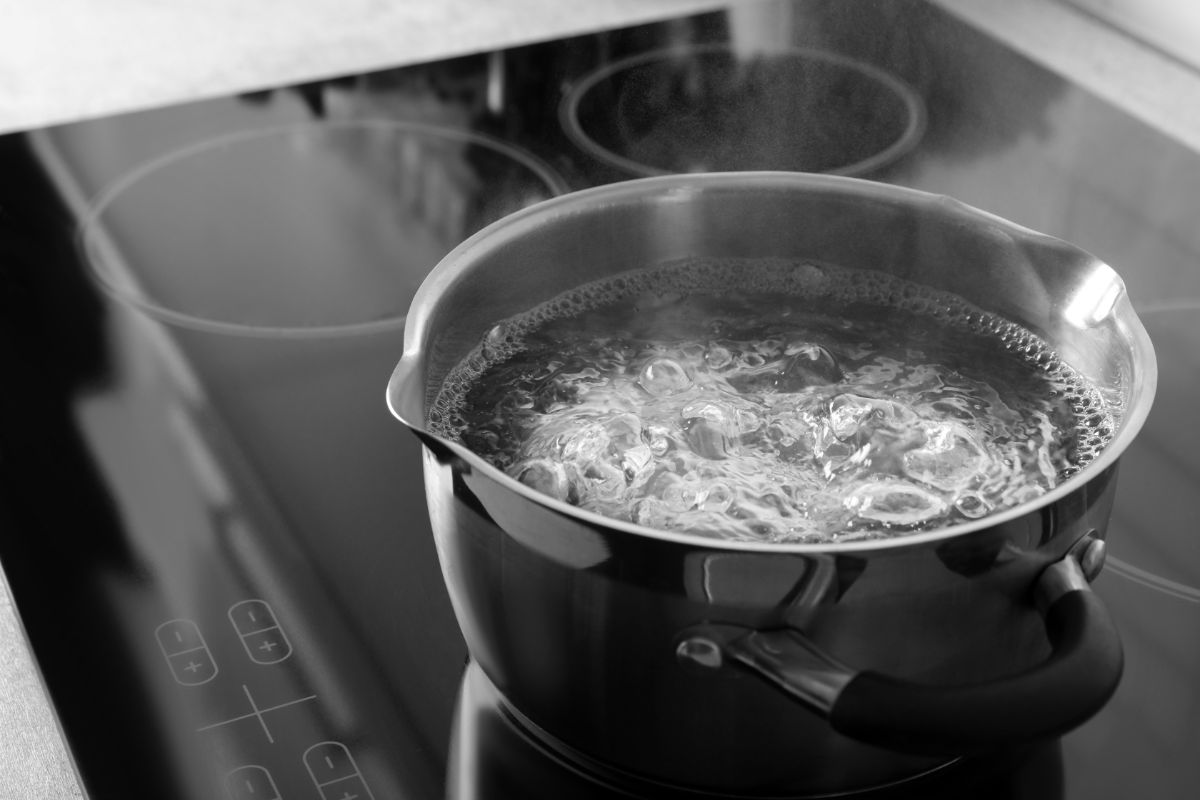
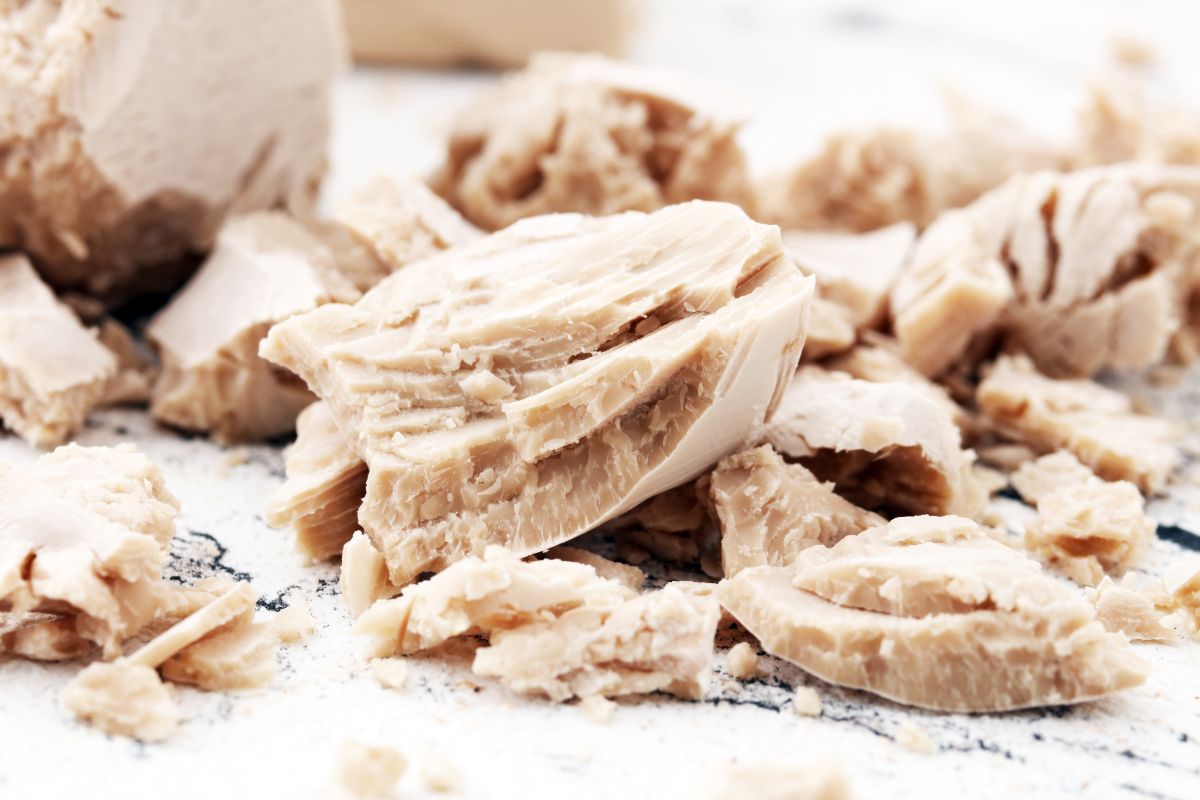
So, does boiling water kill yeast? When using yeast in your dough products, you should know it will instantly die if your water temperature for mixing goes above 140 degrees Fahrenheit.

You may notice some recipes which call for rapid and instant rise yeast products to use heat from 120 to 130 degrees Fahrenheit. These temperatures have to be carefully monitored, and you need to know your thermometer is accurate because you cannot go over 140 degrees unless you intend to kill the yeast.
Why Not Use Hot Water?
Some manufacturers of recipes claim their reasoning behind suggesting the hotter water temps for mixing the yeast is to ‘guarantee’ its activity of it. This combination of hot water and yeast will allow you to see both rapid and visible yeast activity.
This practice often appeals to bakers who want to see their dough bubble and rise. The method of using warm water is safer and just more effective when making your bread.
Hot water will not only kill the yeast and not allow your bread to rise, but it will also ultimately affect how your finished product tastes and looks. When water is too hot, it encourages overheating and over-proofing during your mixing process.
Both of these situations will cause the yeast to overactive, and you will end up with a bread that tastes sour and has lost its structure. The overactive yeast creates an overproduction of carbon dioxide and acids, which result in a bad batch of bread.
The impact of too hot of water on dough can be seen clearly when you make a batch of pizza Bianca dough. When water is used at 130-degrees temperature, the dough suffered significantly. It became dense and squat and had a slightly sour taste. When made with water at 110 degrees Fahrenheit, the yeast was able to perform and create a nice airy, and tasty crust properly.
What is Yeast?
There are two types of leaveners used in bread making. Yeast is probably the most common, but baking soda or powder is also used in some recipes. Yeast is a fungi organism consisting of one cell.
Most people do not realize there are more than 150 different species of these fungi that live around us. The type of yeast you will use in bread making comes in a little paper packet, and it is generally beige-colored granules.

The granules lie dormant until you mix them with warm water at just the right temperature. When the warm water mixes with the yeast, it ‘wakes up’ or reactivates. Once the yeast is awake, it will begin to eat and multiply.
Yeast consumes the sugar found in flour, and as it eats, it releases gases and chemicals such as ethanol and carbon dioxide along with its flavor and energy molecules.
As the gas and carbon dioxide expands, the dough begins to rise. This process is known as fermentation. When using yeast in your dough instead of baking powder or soda, the rising process is much slower. The yeast will; however, give your bread a lot better smell and flavor.
Yeast also helps in the production of gluten, along with ethanol and carbon dioxide. Gluten traps gas bubbles and is what gives your dough its structure. When you are using a ‘no-knead’ recipe, this process is essential because the gas bubbles move around inside the dough to rearrange proteins and give it the necessary structure.
In short, if you didn’t use yeast, your bread would not rise properly. You would not only have bread that did not rise correctly, but it also would not taste the same as when you have added the yeast.
How to Proof Yeast
Preparing your yeast for mixing into the dough is a process called, proofing. This process is done by adding the yeast to water, then giving it some sugar, and stirring all together. When the yeast sits in the sugared water, it will begin to dissolve and become activated, or ‘awake.’ Once it is awake, it will start to feed on the sugar.
Next, you let the yeast mixture sit for several minutes, it is suggested between two to three minutes to allow it to dissolve completely, and then two to three minutes longer for the yeast to begin showing signs of life. What you will see are little surface bubbles starting to form on top of the water. Different varieties expand more than you might expect.
If nothing happens and you have waited the full time, you have what is called ‘tired’ yeast. Proofing the yeast is to determine whether or not it will be able to do its job with your dough. It is a good step to take before you’ve put time and ingredients into making bread dough, as a ‘tired’ yeast will not work for making bread rise.
If the yeast proves itself, you can begin adding the flour and salt. Yeast does not like salt, so it is best to put flour in first as a buffer between the yeast and salt, you could risk killing the yeast or hampering its performance if salt goes directly in first.
What are the Best Temperatures for Yeast?
Yeast is a bit finicky, and with dry yeast, if you use water that is too cold, it will not activate or activate very slowly. Sometimes when water is too cold, the yeast will release a substance that interferes with the formation of gluten. There is also the risk of too hot of water as this will kill the yeast and it is then useless.
A typical temperature for proofing yeast in hot water is between the temperatures of 105 to 115 degrees Fahrenheit. If you are using a live yeast, a temperature of 95 degrees Fahrenheit will work, but might not be hot enough for the dry variety.
If you are unsure of your water temperature, you can place a couple of drops on the inside of your wrist. If the water feels warm and comfortable for you, then it is most likely suitable for the yeast. Remember, when doing the feel test, if it feels hot to you, then it will kill the yeast, if it feels cold, the yeast will lay dormant.
Regardless of which type of yeast you use, if you use water with a temperature hotter than 120 degrees Fahrenheit, the yeast will start to die. By the time your water temperature reaches 140 degrees Fahrenheit, all the yeast will be dead.
If you are not sure about using your wrist to guess the water temperatures, a candy thermometer will work great to find the right degree.
