Bread machines combine flexibility and convenience in domestic baking. It is the only piece of equipment on your pantry shelf that can help you with fun baking without shedding much sweat.

However, without a good knowledge of the order in which the add-ins should follow, breadmakers can be quite intimidating to use. Here is what you need to know about putting any ingredient in a breadmaker.
Following the right order is important only when using the delayed cycle. However, if you want to bake the dough immediately after proofing, any procedure can do. In the delayed cycle, you need to keep the ingredients in an inert state until the mixing commences.
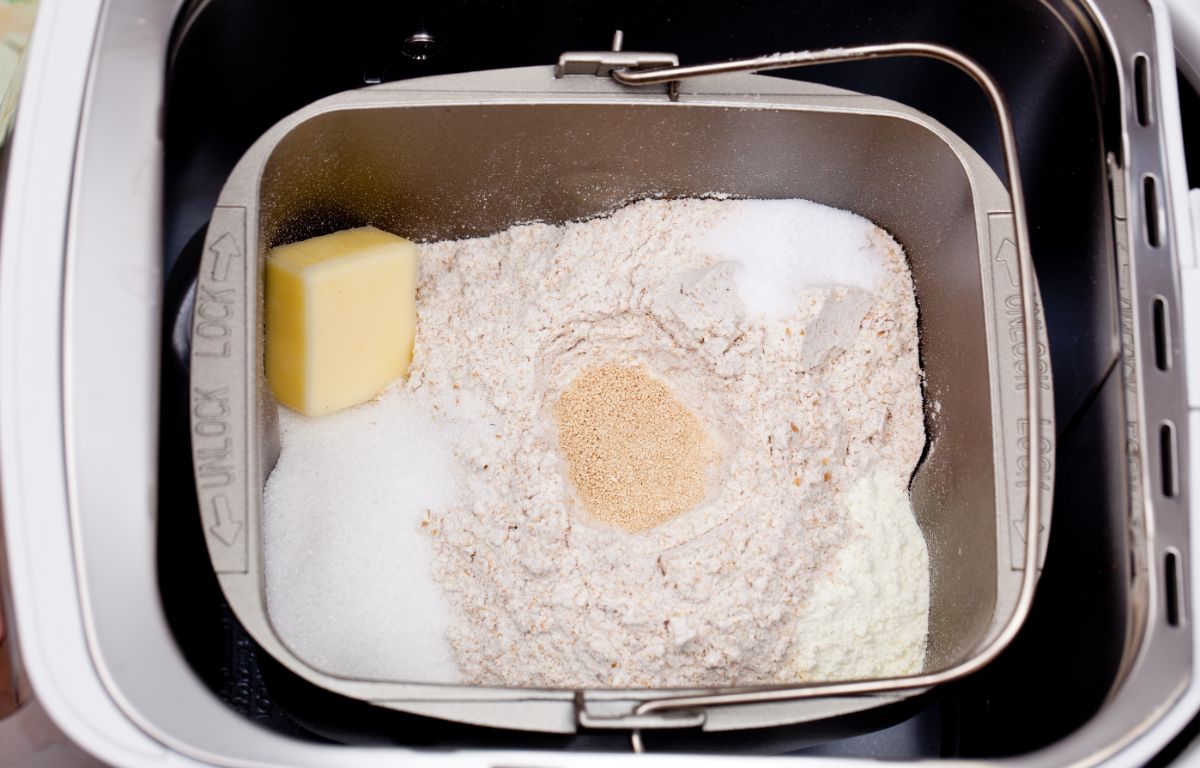
By so doing, you will be preventing an immature reaction. The best way to do this is by adding the liquids, followed by the flour then ingredients such as salt, sugar, seasonings, and dry milk powder. Yeast should be the last thing to go into the bread baker.
*This article may contain affiliate links. As an Amazon Associate, I earn from qualifying purchases. Please take that into account.
- Dutch oven
- Large mixing bowl
- Measuring cups and spoons
- Bread thermometer (fancy or a budget one)
- Scoring lame
Extra (nice to have):
- Kitchen scale
- Dough scraper and bowl scraper (yes, they are different)
- Cooling rack
- Baking stone (you don’t need a dutch oven if you use this)
👉Learn how to make bread and pizza with this awesome book.
Secondly, positioning is key when adding the ingredients to the machine. It defines the amount of time taken before the ingredients start to react against each other. Here is how to go about the correct positioning of the ingredients:
Adding Water
In regular bread baking, water is the main liquid. It is the first add-in to the domestic machine baking. For an outstanding dough, start with a little less water than in the recipe. You can add extra drops of water during the mixing and kneading process while focusing on the consistency of the mixture.
Where the recipe contains moist ingredients such as cottage cheese, mashed potatoes, fruits, and vegetables, reduce the liquid by ¼ cup.
Yeasts are living organisms. In hot temperatures, they become overstimulated and, therefore, overproof hence leading to inconsistent rises. It also kills the yeasts. Where the liquid is too cold, the dough will rise slowly due to improper activation of the yeast.
Other substitutes for water include; milk, juice, eggs, fats, and liquid sweeteners. Before adding anything on the top of the liquid, make sure that it is evenly spread at the bottom of the bread-maker.
Finally, make sure that you have used the correct volume of the liquid. With too much liquid, you will form a “crater bread” –bread that rises and collapse! With a little liquid, the machine will produce a dry dough and resultant crumbly loaf with a coarse texture
Adding Flour
Good quality flour is the basis of excellent loaves during bread baking. In machine baking, use untreated, high-gluten flour. This type of flour rises excellently. They do not also expose consumers to health risks associated with bread.

First, before adding the flour, check the package to determine its type. For white bread, the flour can be either all-purpose or regular. Regular flours are ideal for yeast-leavened bread baking.
They contain a high amount of gluten and form better loaves. Otherwise, there are other forms of all-purpose flours with high-gluten contents that match the regular ones.
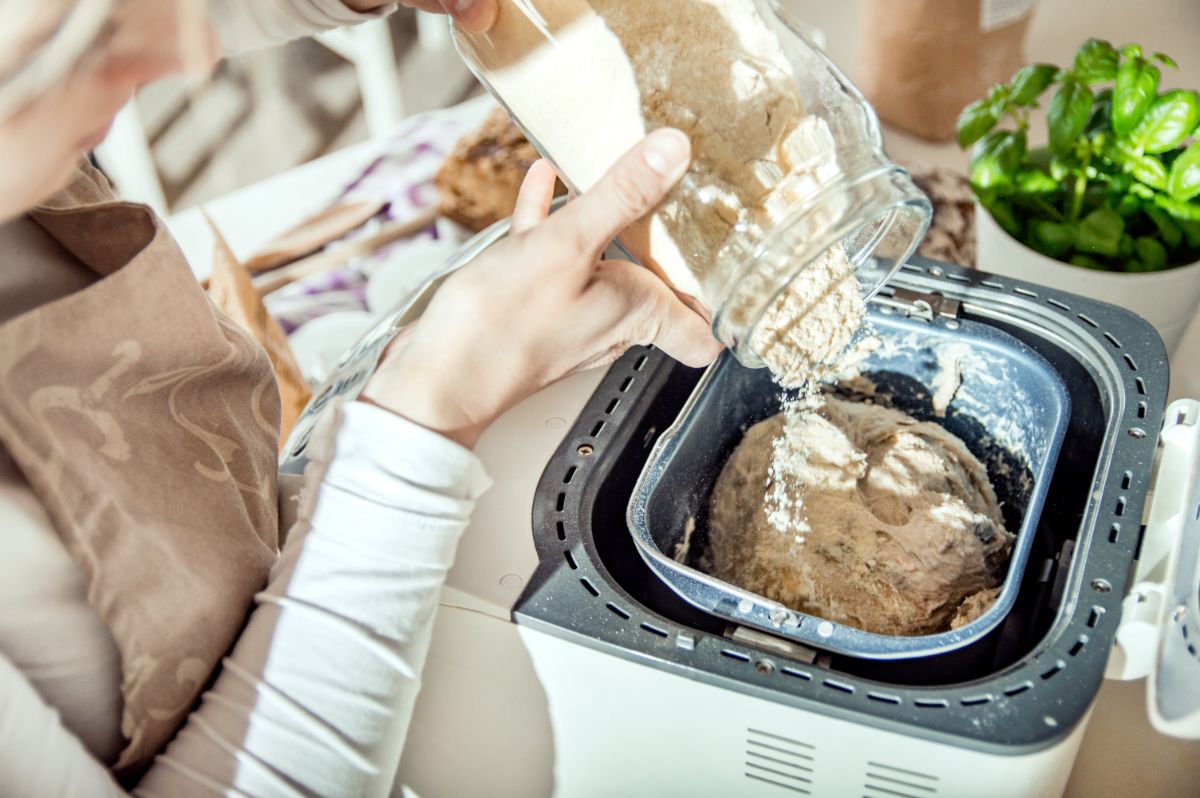
Start with the lowest amount of flour as suggested in the recipes. Then, as the ingredients mix, add more spoonfuls of the flour until the end of the kneading stage. To avoid dough that is too wet or dry, always keep your focus on consistency. The flour should be carefully placed at the center of the machine to form a heap. Through this, you will be able to efficiently create spaces for other ingredients such as sugar, salts, and more.
Adding Other Ingredients
Salt and sugar define the moisture content, flavor, and texture of the bread. They are what make you either like or hate the resultant loaf.
However, yeasts, sugar, and flour react differently. That is why it is always better to correctly position the three ingredients in the machine to avoid any risk. The best way to add salt and sugar to the mixture is by creating two different depressions on the flour.
And, scooping the required amount of sugar and salt with a spoon and placing them into the depressions. It is good to place the sugar in one corner and the salt in another corner.
This is usually done on top of the flour.
You can also put the sugar and the salt in the liquid. However, this is only recommendable for quick dough cycles.
Adding Yeast
Yeast is the cornerstone of any leaved-bread baking. It is what defines the proofing, rising, and the overall quality of the bread. With too much yeast, your loaf will assume a yeasty taste. It can also lead to flattened bread due to bursting and release of the gas before the bread is ready. With too little yeast, the bread will rise poorly, become sticky, and have a bad taste. Therefore, keenly measure the amount of yeast before adding it to the machine.
In machine baking, you can use either the rapid-rise or the bread-machine yeasts. They are easy to activate as compared to dry yeasts. Bread machine yeasts are mixable with any other type of ingredients since they are ideal for quick baking. They can be placed on top of the salt and sugar without causing any harm.
However, when using the dry yeast, you will need to place the yeast on the flour but at a different corner away from the dries. It is better to activate the yeast by dissolving it in water for efficient baking.
Important facts to note:
- Yeast grows well in a warm environment. Therefore, make sure that the liquids are kept at room temperature.
- Liquids activate the yeast. For a delayed cycle, it is better to distance it further apart as possible.
- By replacing the powdered milk with butter or fresh milk, you will be easing the burden of using water. However, the alternatives may not work in a delayed cycle. They can go bad easily hence leading to poisoning.
- You can mix, rise, and proof with the machine and hand-bake the resultant dough.
Conclusion
Bread machines are made in different ways and for different purposes. Some make only 1-pound loaves, some even 3-pound loaves. Others have only power buttons while others have a wide range of settings.
In some, wet ingredients go first. For others, it is the dry ingredients followed by the wet ones. In short, check the user manual to know which ingredient to load in first before you embark on your baking journey.
