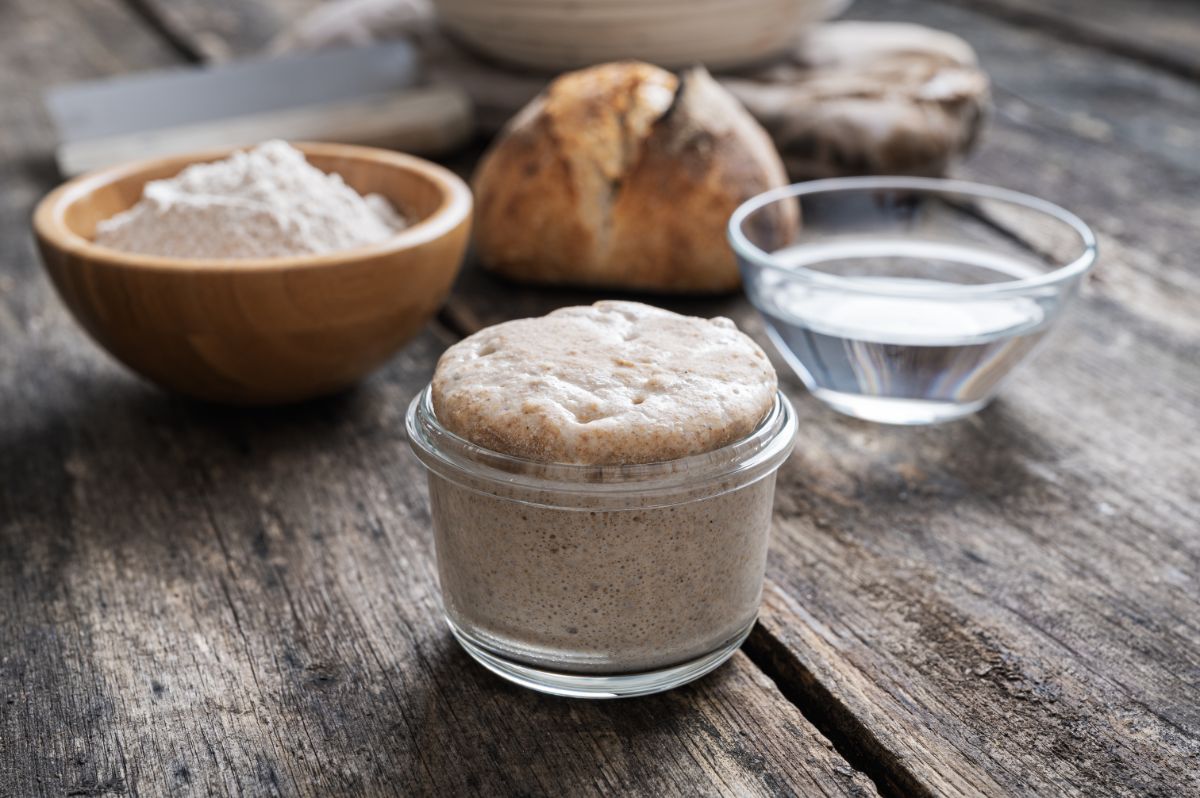
A lot of people who love baking (especially those who love sourdough bread) ask that same question.
The answer is easy although you might find the execution a bit less so. You’re going to be reviving your sourdough starter by adding flour and water for about three days. Basically, you’re feeding it until it’s revived.

Don’t worry about the exact method for doing that though because we’re going to make it as simple as possible and walk you through it step-by-step.
The Wierd Science of Sourdough Starter
Now, unlike most bread that’s simply made by combining flour and salt with water and yeast, sourdough has all of that but with the addition of flour and water that’s been fermented.
In order to jumpstart your sourdough, you need a starter and, if you’re reading this, you’ve already discovered the fact that a sourdough starter is really high maintenance.
It will develop and grow at room temperature before putting it in your refrigerator but, much like the man-eating plant in ‘Little Shop of Horrors”, it’ll start yelling “Feed me” at you if you don’t feed it on a regular basis or use it up right away.
S that it doesn’t become just an ugly gray mess and take over your fridge, you should be diligent about your sourdough starter and revive it in the event that it does. So, to that end, here are the steps to do just that so you can make some yummy sourdough bread for sandwiches or even garlic bread for spaghetti night.
For starters, that grey liquid is called “Hooch” (aka low-rent booze) like inmates in orange, like those girls in “Orange Is the New Black” would make in their cells from a special “secret” recipe. Of course, you’re going to throw that away as your first step, and then just follow our easy directions below.
Reviving Your Sourdough Starter Step-By-Step
1. Drain off the hooch and throw it away
2. Remove the top layer of starter that has become discolored with the back of your spoon.
3. Using a spoon, transfer some of the starter into a big clean bowl.
4. Reseal the rest of the original starter.
5. Put it back in your fridge (for use next time).
6. Add ¼ cup of filtered water (bottled or Brita pitcher) to your bowl and mix well with starter using a whisk.
7. Add ½ cup of plain unbleached flour using a sieve or sifter.
8. Whisk until you have a nice-looking dough.
9. Start an 8 to 12-hour schedule, repeating the feeding of your dough with more flour and water.
10. By setting up the time carefully, you could end up with the perfect feeding schedule. That means you’re feeding your sourdough starter in the morning before work and at night after work. After all, you wouldn’t want to have to go home at lunchtime just to feed your starter. Right?
11. Your sourdough starter will get nice and fluffy and thick over the three days. Don’t worry, it won’t start bubbling or making strange noises the way that sauerkraut does, but will instead smell good and you’ll be able to tell that it’s coming back to life.
12. The good news is that your sourdough starter should be ready to use in approximately three days.
Why Do You Have To Feed Sourdough Starter Anyway?

That’s a really good question and the answer is that it has been eating all of the available starch the whole time while hanging out in the refrigerator.
Anytime you’re going to let the starter sit for a while, it needs regular feeding. When it’s lost and forgotten in the back of your fridge, it needs to be revived and that’s why we’re here.
Doubling Your Starter is the Main Goal
If you choose, like many bakers do, to discard half of your starter with each feeding, stop discarding any of it when you’re ready to bake your sourdough bread.
If you do it this way, you should double the flour and water that you’re adding to the starter each time you feed it. Your goal is to end up doubling your starter with each feeding so that you’ll have plenty for baking your bread in two or three days.
What you want is to end up with enough healthy and active starter to bake within that time period with little or no leftovers.
Don’t Abandon That Forgotten Starter
It’s true that it’s pretty simple to revive a sourdough starter if it has been properly cared for. It’s a part of that old adage that says an ounce of prevention, etc.
However, it’s also true that every baker usually finds a forgotten jar filled with starter sooner or later. They seem to hide in the back of your fridge.
Now, some people think it’s no good anymore and toss it because they don’t know that it can be revived and how to go about it.
Don’t be one of those bakers who just quit on their starter. Instead, be the one who learns the necessary steps and saves that forgotten starter from the garbage.
What If the Sourdough Starter is Moldy?
Does that mean that you have to toss it? Not necessarily. If there’s mold on the hooch (which you’re throwing away anyway) or on the top of your starter? If there’s neither, just smile and move on to the steps outlined above.
On the other hand, if there is, get a handful of spoons to scrape it off with. Normally mold is a surface condition, so you’re going to be trying to get some good non-moldy starter from the lower levels of the starter jar.
Begin by scraping the mold off of the surface. Now, this is very important. Be extremely careful that you don’t stir the starter or you’ll only end up stirring all of that mold into your starter.
When you believe that you’ve gotten it all, get one more clean spoon for scraping a little more starter right off the top. OK, now you’re ready for rest of the starter revival steps.
Now that you know the steps for reviving your sourdough starter, just back and enjoy!
And, maybe next time, you’ll remember your starter and give it10 some TLC. But, if it gets forgotten again, at least now you know how to revive it.
