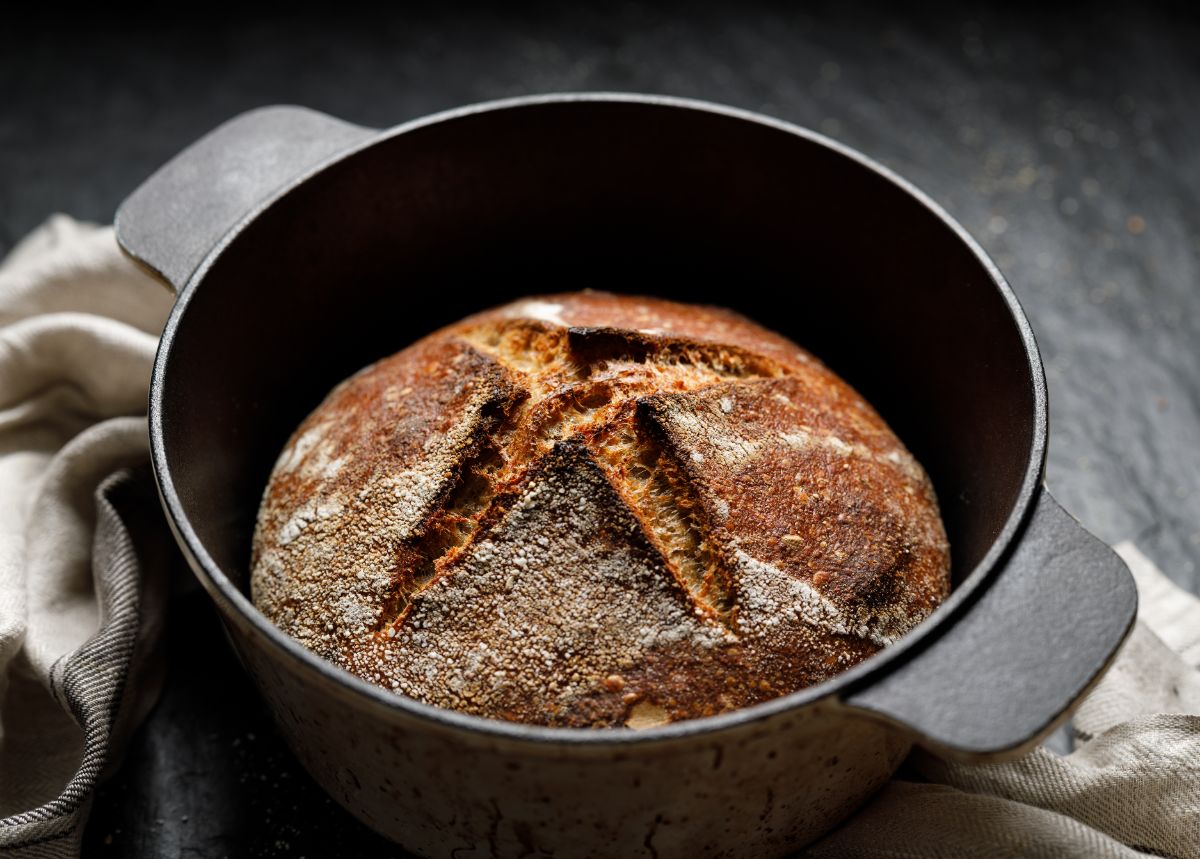
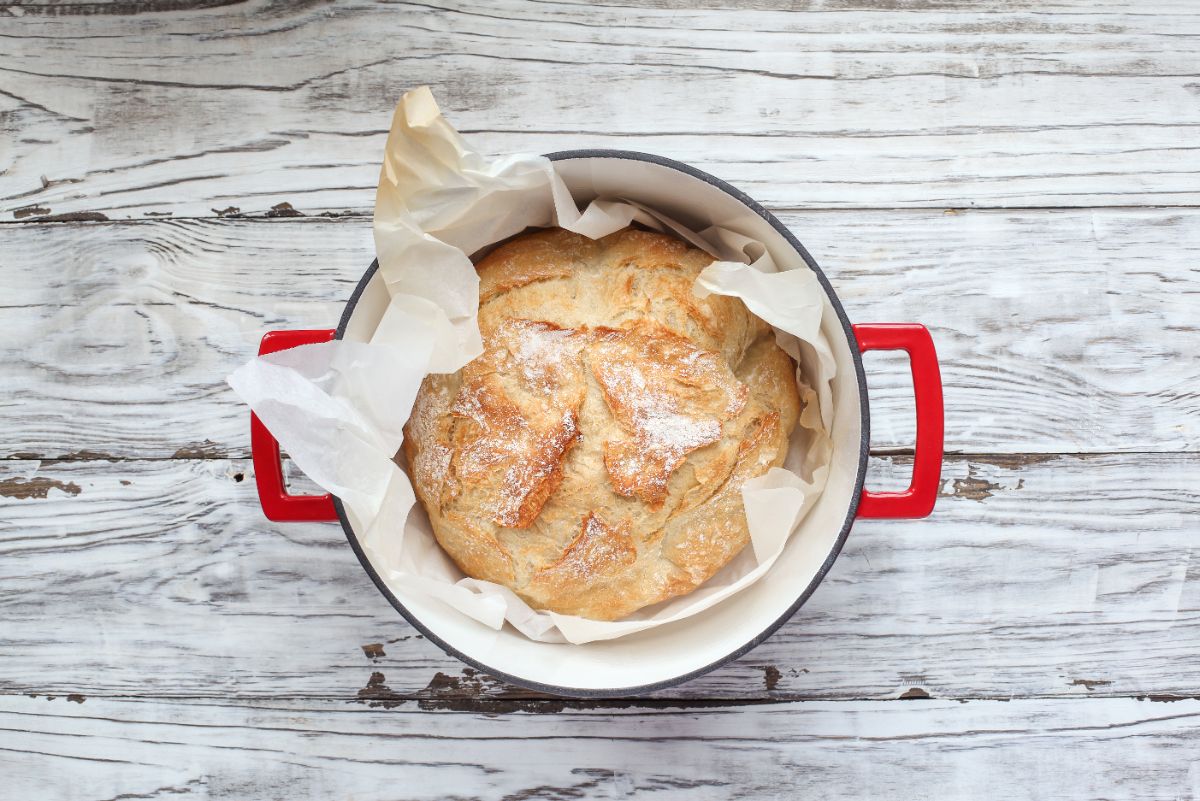
If you consider yourself a food enthusiast and enjoy the art of bread baking, you should know how to experience a loaf of sourdough bread that has been baked in a dutch oven.

You cannot duplicate the taste of freshly baked sourdough bread with any off-the-shelf bread. It doesn’t mean you cannot find excellent sourdough bread in specialty stores, but it is just not going to have the same quality as the loaf you pull out of your oven in a dutch oven.
Some of you may be wondering how you transfer sourdough to dutch oven baking methods. It may be thought that only advanced home cooks can create that form of artisan sourdough bread.
But any level of bread baker can achieve great bread. These are some steps for you to follow to create your own drool-worthy sourdough bread in a dutch oven without fancy or special bread-making equipment.
How to Start Creating Sourdough Bread to Bake in a Dutch Oven
To start your sourdough bread making, you will want to gather:
- A kitchen scale
- Parchment paper
- A bowl
- A towel
- A serrated knife
- A Dutch Oven
These items are the tools you will need for your bread-making. To start the bread, you will begin with your starter. You have to have an active and healthy starter.
The Starter
Sourdough is a natural yeast. This form of bread captures natural yeast and uses it as a raising agent. There are also beneficial bacteria in this bread called Lactobacillus, which will help in the fermentation and raising process. Together these agents work to create carbon dioxide, which is what raises biscuits, waffles, and bread.
Creating the starter for sourdough bread does involve more patience and time than the regular white or wheat bread, but its results are far more superior.
To make the starter, you begin by mixing water and flour, and then wait for it ‘catch’ a yeast. It also has to develop some good bacteria. You will then have to ‘feed’ those organisms regularly to strengthen your starter.
Using either one-hundred percent whole wheat flour, or unbleached all-purpose flour, you will measure fifty grams into a glass or plastic container. This step is followed by adding the same weight amount of water to the flour. Mix these two ingredients until a pancake-like batter is created.
Loosely apply a lid to the container and set it in a warm area of your kitchen. When you notice bubbles are beginning to form on the top (about the 2nd or 3rd day), scoop half of the starter out and discard.
You are now ready to start ‘feeding’ your starter. Feeding consists of adding another fifty grams of flour and the same weight amount of water to the remaining starter, mixing, covering, and re-sit in a warm area of the kitchen. Continue this process for about eight days.
To determine if your starter is ready to be used for baking conduct the ‘float test.’ The ‘float test’ is taking a small dab of the starter mixture and testing if it will float in a glass of water.
If it sinks, you will need to continue the ‘feeding’ process another day or so. If it floats, your starter can now be used to bake a loaf of sourdough bread.

Place 525 grams of water into a large mixing bowl. You may want to use a kitchen scale to ensure the measurements are accurate. You will then add 200 grams of the starter into the bowl of water and use a whisk to mix the two.
Add 700 grams of all-purpose flour to the mixture and mix until well combined. There should not be any dry patches in the bowl, and the dough should have a sticky, slack texture.
Allow the dough to sit, or rest, for about an hour. The resting time is called the autolyze, and it is time to allow the flour to absorb the water. After the hour, or autolyze, you will add salt to slow down the fermentation process.
You will need to work the salt into the dough, but first, make sure your hands are wet to prevent the dough from sticking to your fingers and hands. When you feel you have all the salt mixed in, you will lift and fold in all directions to make sure it is mixed thoroughly.
The next step of your sourdough bread making involves making a series of ‘folds’ in your dough. By grabbing one corner, you will pull it up and over to the opposite side and continue repeating on all four corners.
The dough will now need to ‘rest’ for half an hour. After the half-hour, you will repeat the same folding steps. Repeat this folding process five to six times, which will involve about two to three hours.
After the fifth or sixth folding step, you will want to let your dough rest for an hour. During this time, you will notice your dough becoming puffier.
Cover it with a plastic wrap or lid and place in the refrigerator for twelve to twenty hours. The next day, or at least after twelve hours, you will gently scrape the dough out onto a work surface.
Divide your dough into two parts. Shape each portion into a ball shape by folding the edges under. These ball-shaped loaves will now rest for half an hour.
After the half-hour bench rest, you should notice your ball-shaped loaves have flattened. You will reshape them by gently rolling them on your counter and using your hands to guide them back into their shape. You want the two loaves to look nice and round like a tight ball of dough.
Dust your tea or flour sack towel generously with flour. You want to use a fair amount as the dough is wet, and you do not want it to stick to the towel.
Place the floured towel into a bowl or colander measuring about 8 inches round and 5 inches deep. You will then gently place one of the loaves into the bowl with its top-side down.
Generously flour the bottom of the loaf and fold the corners of the towel to cover the dough and place it back into the refrigerator for three to four hours.
Sourdough is Ready for the Dutch Oven
Approximately forty-five minutes before you are ready to bake your bread, you want to get the oven ready. Heat your oven to 500 degrees Fahrenheit.
Take the dutch oven with its lid on and place it inside the oven to preheat. The dutch oven should preheat for about thirty minutes before you bake your sourdough bread.
The dutch oven works so well for baking your sourdough bread because it copies commercial steam ovens. It performs the baking process by trapping the steam while the dough bakes and it creates a beautiful crust.
Taking the dough out, once it has completed rising, you will dump it onto a parchment paper sheet. Dust the top of the loaf and gently rub it over the entire surface.
Using the serrated knife, you will make scores in the dough to control the expansion of the bread. Not scoring it can cause your bread to bulge or burst in odd places. You can get creative with your scoring by making optional patterns.
Remove the hot dutch oven from your oven, and quickly transfer the scored loaf with the parchment paper to your dutch oven. Place the lid back on, and return to the hot oven for thirty minutes.
After the thirty minutes, remove the cover and allow the loaf to complete baking for an additional ten to fifteen minutes, or until the crust is a golden brown. Remove the loaf to a rack to cool and enjoy the crackling sounds as it cools.
You now know how to create an incredible loaf of great-tasting sourdough bread in your dutch oven.
