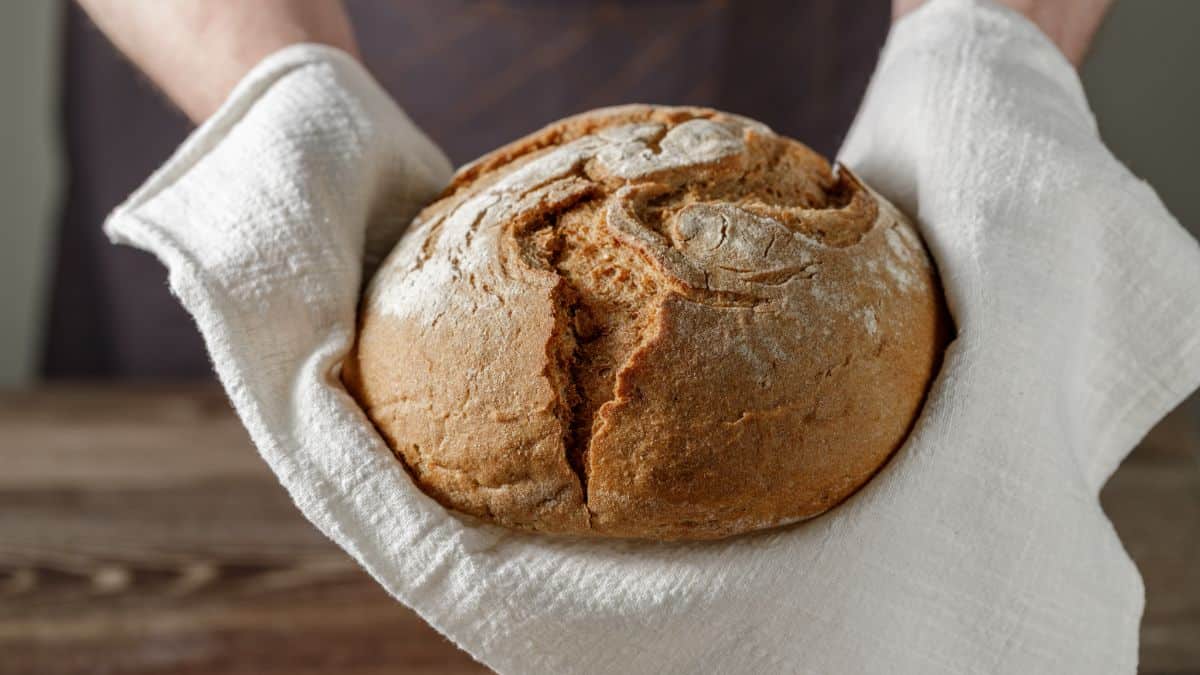
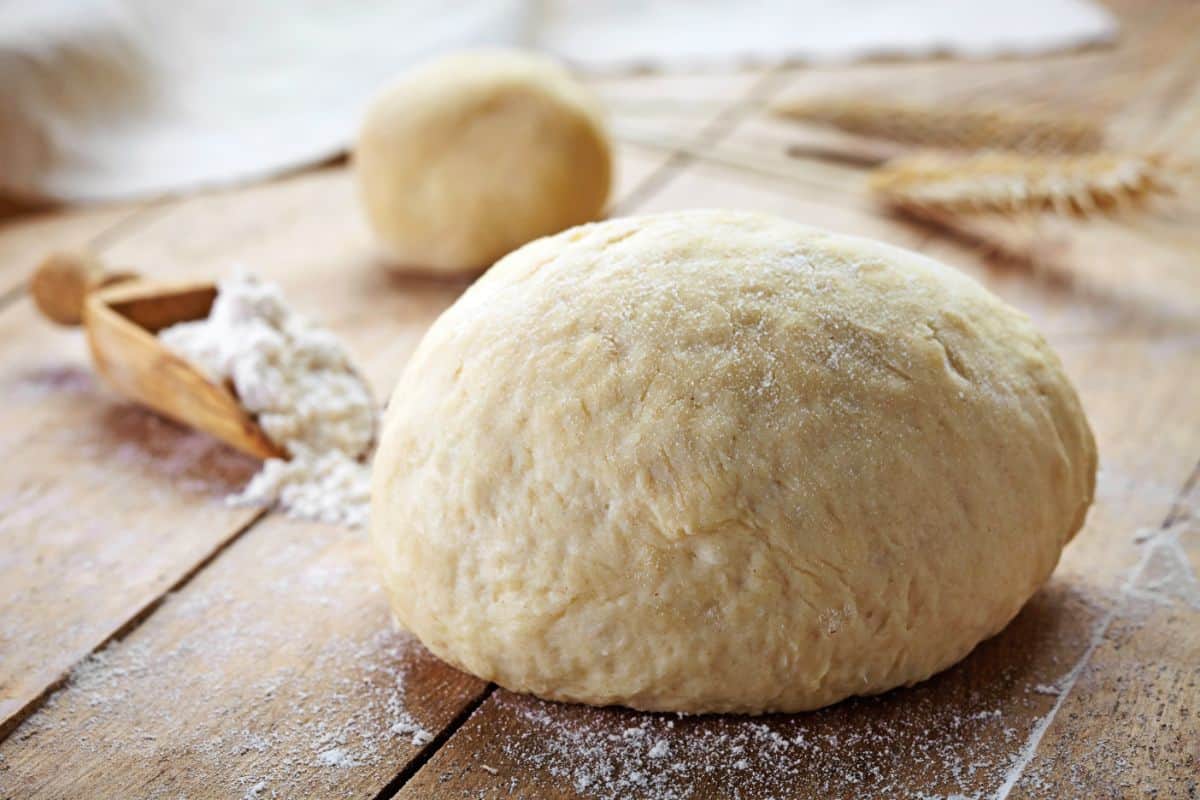
Making bread from scratch is one of the most satisfying things you will create in your kitchen, but also one of the most frustrating when you fail. How many times did you start making bread from scratch, and after hours of kneading, shaping and proofing, you finally place your three-hours-hard-work creation in the hot oven only to find a collapsed, disappointing, flat bread when you open the door?
We get it, we’ve all been there too many times that we can count. You end up throwing the so-called bread you worked so hard for and go straight to the local bakery all the while thinking to yourself why bother anymore.

But stop right there, don’t get discouraged! Bread is actually one of the simplest things to bake, you just need to make sure you strictly follow a specific set of instructions and don’t stray too far!
There are many things that could go wrong when making bread from scratch, and some are more common than the others. While under baking or over baking the bread is simple to understand and fix, the most frustrating and hard to identify issue is when your bread collapses during baking.
Why does bread fall when baking?
The most common cause is over proofing or under proofing the dough. When the dough is over-proofed, the dough over-aerates and the gluten over-relaxes, allowing the gas pressure inside to overwhelm the internal structure. When the dough is under-proofed, the opposite happens: the gluten does not have sufficient time to relax and as a result, it will simply tear.
There are also other factors that could cause your bread to fall when baking, such as too much liquid in the dough, too much flour or even using too much yeast,
So, how do you fix the problem?
You start by trying again! Once your bread is in the oven and you see it deflating, there’s nothing you can do about it besides watching it deflate.
That’s why, when making bread, especially if you’re a beginner, it’s good practice to document your steps and in case of failure to go through them again and be able to find the culprit. It takes a few tries to get it right, but once you get the hang of it, it’s actually really easy and you’ll never go back to store-bought bread again!
So, let’s talk about what might cause your bread to fall when baking.
Too wet / Too dry dough
Let’s start with some simple issues that might cause your bread to fall when baking. When you first encounter problems with your bread, you must ask yourself a few basic questions, like what was the water/flour ratio. You can make bread from scratch only using water and flour, no yeast, so there’s a big chance the problem lies right here.
When kneading the dough, you might feel like the dough feels too dry and that it needs more water, or on the contrary, you might find it too watery and sticky, so you feel like you will need to add more flour. While with other baking goods you might get away with these creative instincts, baking bread is nothing more than science. You have to calculate the ratio and the right temperature of the ingredients and just stick to that. Unfortunately, there’s not much room for creativity, so even if you feel like the dough might be too sticky, chances are you’ve picked a recipe with a higher hydration dough, and the solution is to simply knead the dough a little longer.
So, the first thing to do when you notice that your bread keeps falling in the oven is check the water/flour ratio and adjust from there.
Too much yeast
I mentioned before that you can make bread from scratch only using water and flour (sourdough), and while that is absolutely true, most people, especially beginners will opt for using yeast.
While it might seem counterintuitive, since yeast is the one who’s supposed to help our bread grow, we all know there is such a thing as too much of a good thing, and using too much yeast can actually cause your bread to collapse.
While proofing, the yeast will make your bread rise beautifully and you will expect an amazing result, but later, in the oven, the bread will slowly start to fall and lead to a disappointing result.
Try decreasing the yeast by ¼ to ½ teaspoon.
Overproofing and underproofing

Before understanding if you over-proofed or under-proofed the dough, we must first understand what proofing is.
What is proofing?
In terms of baking bread, proofing or fermentation is the step that allows the bread dough to rise. Often in basic yeast bread recipes, the dough will be proofed twice.
First proof
Bulk fermentation, or first proofing, is a crucial step in the bread baking process, no matter the type of dough you’re working with.
This step is also called bulk fermentation because you leave the dough – the whole ferment in one lump – before you break it up and shape it into the desired form. It’s during this step that the yeast does most of its work, helping your dough to take on flavor when alcohol and other by-products are produced.
At room temperature, the bulk fermentation will take about an hour and a half to two and a half hours. Usually, warmer dough grows faster than colder dough, and because of that, a lot of recipes recommend proofing in a warm environment.
Second or final proof
After kneading, folding and stretching your dough, you will divide the dough into portions and loaves. You get your dough ready for its final proof by shaping your dough into its final shape and letting it rise for about an hour before placing it in the hot oven.
Overproofing and Underproofing
Over-proofing occurs when a fermenting dough has been left on for too long that you can see that they overflowed the banneton they were proofing in. If you bake your dough at this point, it will result in a deflated loaf with poor structure. The gluten is over-relaxed and it will not have the strength to hold the shape of the bread.
Under proofing, as the name suggests, is the exact opposite of over proofing, the gluten is not relaxed enough and as a result, rather than stretch as its internal gasses expand, it will simply tear, resulting in bread that is over expanded around the edges and too dense in the center.
Special proofing equipment
In order to avoid these situations, you can use special proofing equipment that will make your life easier, such as a baking oven or proofing box which creates a warm environment with controlled humidity for ideal proofing conditions.
You should also consider investing in a banneton, which is a basket-shaped container used for final proofing.
Final thoughts
The first step you need to do is making the bread all over again. Perhaps you accidentally measured the flour wrong or forgot an ingredient, like yeast.
If you feel like you measured all the ingredients correctly, the next step is to try making the same bread again, but doing one or two small changes in the process. Don’t forget, always document everything, how did you change the recipe? What was the result? How long did you proof the dough?
All these notes will help you along the way and in no time you’ll become an experienced bread baker!
