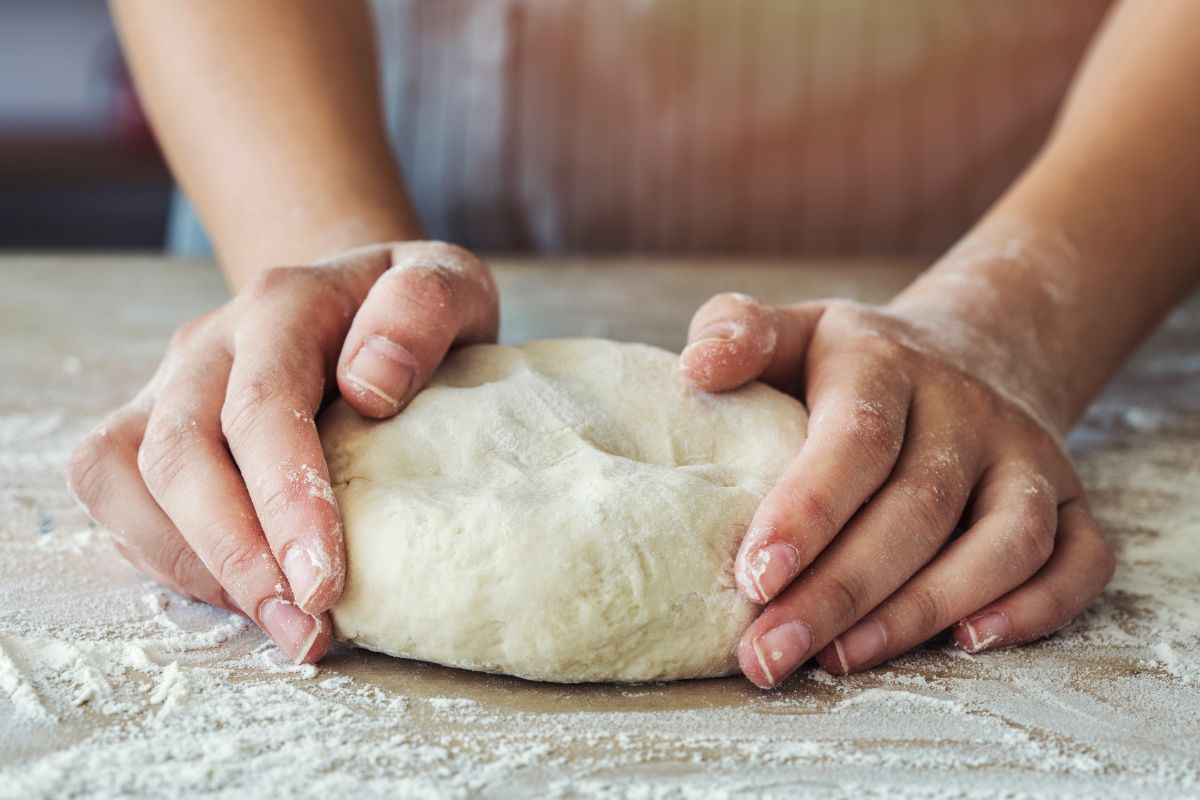
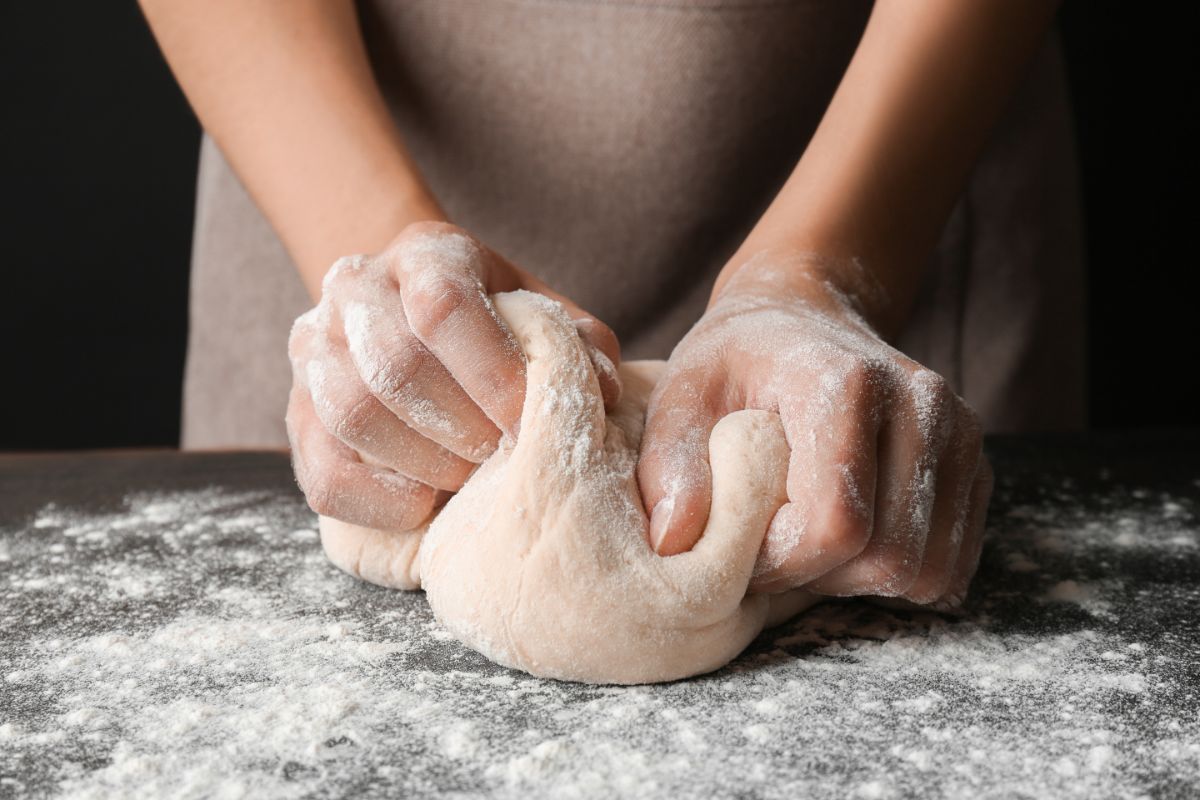
When making bread, some may have the impression that the more the dough is kneaded, the better, as the bread will grow and have a nice consistency.

Well, this kind of assumption is wrong, because you need to know when to stop so you will not over knead the dough.
So, while it is hard to believe that there is such a thing as “over-kneading” the bread, the truth is that overdoing this part has a set of negative aspects.
Keep reading and find out why it is not recommended to over-knead the bread and how to tell when the dough is sufficiently mixed for the best results.
*This article may contain affiliate links. As an Amazon Associate, I earn from qualifying purchases. Please take that into account.
- Dutch oven
- Large mixing bowl
- Measuring cups and spoons
- Bread thermometer (fancy or a budget one)
- Scoring lame
Extra (nice to have):
- Kitchen scale
- Dough scraper and bowl scraper (yes, they are different)
- Cooling rack
- Baking stone (you don’t need a dutch oven if you use this)
👉Learn how to make bread and pizza with this awesome book.
Is it even possible to over-knead bread dough?
Yes, it is possible, especially since more people use mixers to prepared their dough.
When mixing the dough with your hands, it is easier to feel when the dough reached the desired consistency and elasticity.
However, even so, you can over-prepare your dough this way as well, if you follow the “too much is never enough” statement when preparing your homemade bread.
We all know you want to enjoy delicious homemade bread, but this doesn’t mean that you have to mix the dough without a limit.
The whole purpose of kneading the dough is to allow gluten molecules to form binds, which will give the dough an elastic and uniform consistency, so it will grow nicely in the oven.
When we first mix the ingredients, those binds are not yet present, this is why we have to stimulate them through kneading.
The downsides of over-kneading the bread
By mixing the dough, we transfer heat to the dough through our hands. The more we unroll this activity, the warmer the dough gets.
Overheating, unfortunately, it is not that great for dough, as it can begin fermenting a bit too soon. When this happens, the dough will lose its flavor and, implicit, the bread will not taste as expected.

So, ideally, starting the fermentation process prematurely or having an overly-fermented dough is not recommended.
Blending the bread dough for too long can also lead to oxidization. This means that the flour used for the dough will oxidize and bleach, which will also affect the flavor of the bread, not just the color.
In spite of the fact that over-kneading often leads to a dough that is too hard and lacks elasticity, it can also make the dough break down in some cases.
Practically, your dough will look like it was when you first started the process. This is due to the fact that the molecular binds formed by gluten break down due to too much blending.
It is worth mentioning that the breaking down of the dough and oxidization of the dough happen in case of using mixers to prepare the dough, not when mixing it manually.
How to tell when your bread dough has been kneaded enough
It doesn’t matter if you are using your hands, a mixer or a food processor, as it is possible to tell when the dough is ready and doesn’t require any more work.
A general rule is that hand kneading should be done for 10 to 12 minutes, while mixer kneading for 8 to 10 minutes.
But, this time frame can vary according to the flour you use, temperature, moisture, and your ability to mix the dough. So, here are the clues you need to look for in order to tell if the job has been done right.
1. The dough starts to get smooth
When gluten molecules are starting to form more and more binds, the surface of the dough will start to look increasingly smoother.
Of course, you should not hurry to wrap things up.
Continue looking for lumps and bumps because the final result should be an entirely smooth dough, even tacky as you touch it.
Even when using a mixer, you should watch to see if the dough looks much smoother than it did in the beginning.
2. It will be able to hold its shape
A bread dough that has been worked for a sufficient amount of time will have gluten binds strong enough to help it maintain its shape.
To see if this is right, form a ball out of your dough and lift it with your hands in the air. If it manages to keep its ball-like shape nicely, you then have a dough that is ready to meet the oven.
But, if you feel it like it’s trying to sag between your fingers, you will have to work it some more, as the gluten binds are not too stable just yet.
3. If you poke it, the dough will regain its shape quickly
You can also poke your ball of dough with a finger. If the indentation you made in its surface, after pocking it, takes little time to fill back up, your dough is ready.
If it looks like a dimple that is there to stay, you need to continue pounding in order to improve the dough’s elasticity.
4. It looks like thin paper when stretched
Take a small ball of dough, the size of a golf ball, and use both of your hands to stretch it gently.
If it appears like a sheet of thin paper as you stretch it, without breaking, then the binds are well-formed and strong enough. But, if it breaks shortly after you started stretching it, your work is not yet done and you’ll have to work on it some more.
5. When your hands hurt
When manually preparing the dough, 10 to 12 minutes can seem like forever. If your hands and arms hurt due to this operation, you can be quite sure that your mission is completed.
Of course, don’t strain yourself. Stop for a few minutes if you are tired before those 10 minutes go by and come back to kneading until the dough behaves like mentioned previously.
If the dough you made passes all the tests listed earlier, you can be sure that you have a bread that is ready to be baked. Just make sure to pre-heat the oven before placing the dough inside.
